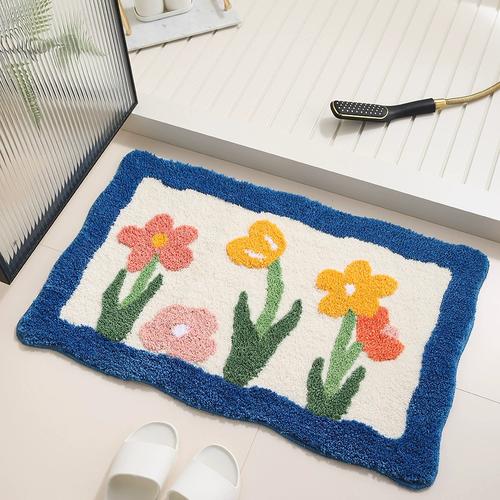
So, you’re ready to make your first tufted rug? 🎉 Exciting! But before you start, there are a few things you need to know. Without the right guidance, you might face loose yarn, fabric tearing, or uneven designs.
Don’t worry! This step-by-step guide will walk you through the entire process—from setting up your materials to finishing your rug like a pro.

1️⃣ Step 1: Gather Your Tufting Supplies
📌 What You’ll Need:
✔ Tufting gun (Cut Pile or Loop Pile)
✔ Tufting frame (store-bought or DIY)
✔ Backing fabric (Primary Tufting Cloth or Monk’s Cloth)
✔ High-quality yarn (4-ply or thicker)
✔ Glue (latex-based for securing yarn)
✔ Scissors and a rug trimmer
✔ Marker or projector (to transfer your design)
💡 Pro Tip: If you’re serious about tufting, invest in an electric rug trimmer for a professional finish.
2️⃣ Step 2: Setting Up Your Workspace
📌 How to Prepare Your Tufting Frame:
✅ Stretch the fabric tightly over the frame to prevent sagging.
✅ Secure it with clamps or staples to keep it firm.
✅ Test by pressing your hand against the fabric—it should have some tension but not be too stiff.
📌 Transferring Your Design to the Fabric:
🎨 Three easy ways to do it:
1️⃣ Use a projector to trace the design onto the fabric.
2️⃣ Print your design on paper and transfer it using chalk or a marker.
3️⃣ Draw freehand if you’re feeling creative!
💡 Pro Tip: Keep your design simple and bold for your first rug—complex details are harder to tuft as a beginner.
3️⃣ Step 3: Tufting Your Rug
📌 How to Use a Tufting Gun Properly:
1️⃣ Hold the tufting gun at a 90-degree angle to the fabric.
2️⃣ Start tufting from the center of your design, working outward.
3️⃣ Move slowly and steadily to keep the yarn loops even.
4️⃣ Keep the fabric taut to avoid uneven tufting.
📌 Common Beginner Mistakes (And How to Avoid Them):
❌ Moving too fast → Uneven loops and misaligned design.
❌ Not keeping tension → Yarn won’t stay in place.
❌ Forgetting to check the yarn feeder → Can cause the gun to jam.
💡 Pro Tip: Practice on a scrap piece of fabric first to get comfortable with the gun before starting your actual design.
4️⃣ Step 4: Securing Your Rug with Glue
📌 Why You Need Glue:
Once tufting is complete, the yarn is not yet secured—without glue, it can fall out over time.
📌 How to Apply Glue Properly:
✅ Flip your rug over and apply latex-based glue evenly on the back.
✅ Use a paint roller to ensure full coverage.
✅ Let it dry for at least 24-48 hours before cutting or finishing.
💡 Pro Tip: Apply an extra layer of glue on the edges for added durability.
5️⃣ Step 5: Trimming & Shaping Your Rug
📌 How to Trim Your Rug for a Polished Look:
✔ Use sharp scissors for small details.
✔ An electric rug trimmer makes it easy to achieve an even height.
✔ Brush the fibers in different directions to check for inconsistencies.
📌 Final Touches:
✅ Trim any loose threads for a clean, professional look.
✅ Add a felt or canvas backing for extra support.
💡 Pro Tip: If you want ultra-smooth edges, consider using rug binding tape!
6️⃣ Step 6: Enjoy Your First Tufted Rug!
📌 Final Checklist:
✅ Fabric stretched correctly?
✅ Tufting complete and even?
✅ Glue applied and dried?
✅ Edges finished properly?
🎉 Congratulations! You’ve completed your first tufted rug!
📌 Why This Guide Works?
✅ Clear step-by-step instructions, perfect for beginners.
✅ Covers everything from setup to finishing to avoid common mistakes.
✅ Pro tips to improve results and create a professional-looking rug.
✅ Encourages learning with a CTA (Call to Action) for further skill development.
Now, you’re ready to turn your tufting dreams into reality! 🚀✨
