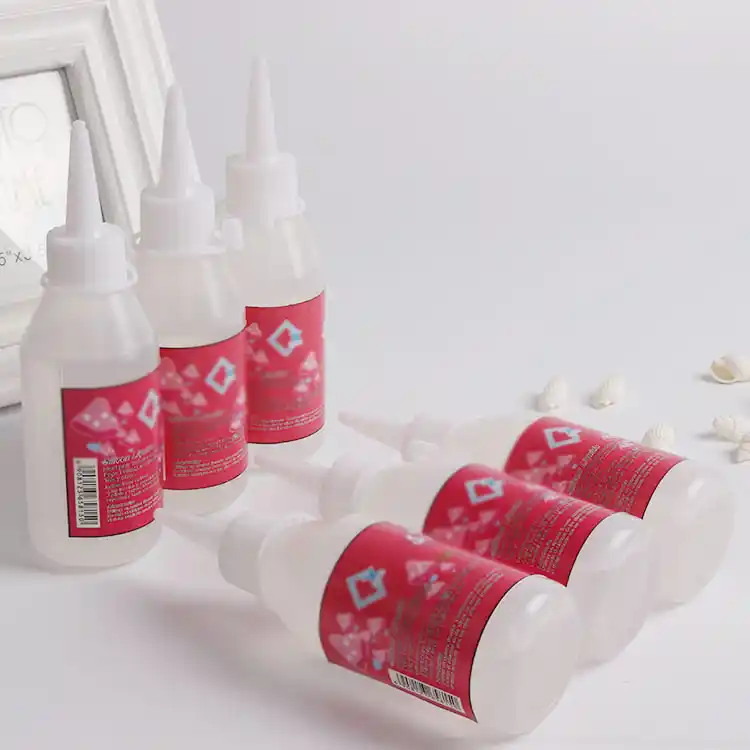
So, you’ve finished tufting your rug—congratulations! 🎉 But wait… your rug isn’t done yet. If you don’t properly glue and secure it, the yarn may come loose over time, and all your hard work could go to waste.
In this guide, I’ll walk you through the best types of glue for tufting and step-by-step instructions on how to secure your rug like a pro.

1️⃣ Why Do You Need Glue for Tufting?
Tufting alone doesn’t keep the yarn in place permanently. Without glue, the fibers can loosen, and your rug might start shedding over time. Applying glue helps:
✔️ Lock the yarn into the fabric so it doesn’t fall out
✔️ Increase the durability of your rug, making it last longer
✔️ Prevent unraveling, especially for high-traffic floor rugs
Now, let’s explore which glue works best for tufting rugs.
2️⃣ Best Types of Glue for Tufting Rugs
Not all glues are created equal! Here’s a comparison of the most common types and which one is best for your project:
| Glue Type | Pros | Cons | Best For |
|---|---|---|---|
| Carpet Adhesive (Latex-Based) | Strong hold, flexible, dries soft | Can have strong fumes | Floor rugs, long-term use |
| PVA Glue (Wood Glue/Elmer’s Glue) | Easy to find, affordable | Can dry too hard, may crack over time | Small rugs, wall art |
| Acrylic-Based Glue | Waterproof, durable | More expensive | Outdoor or moisture-prone areas |
| Hot Glue (NOT Recommended) | Dries fast, easy to use | Weak hold, brittle over time | Temporary fixes only |
💡 Best Choice for Most People: Carpet Adhesive (Latex-Based) – it’s strong, flexible, and keeps the rug soft.
3️⃣ How to Properly Glue and Secure Your Rug (Step-by-Step Guide)
Now that you’ve chosen your glue, follow these easy steps to secure your tufted rug.
✅ Step 1: Prepare Your Work Area
- Lay your tufted rug flat with the back facing up.
- Cover your workspace with plastic or newspaper to avoid glue spills.
✅ Step 2: Apply the Glue Evenly
- Use a paint roller or a wide brush to spread the glue evenly over the entire back of the rug.
- Make sure the glue seeps into the fabric and around the yarn strands to hold them securely.
✅ Step 3: Let the Glue Dry Completely
- Drying time depends on the type of glue:
- Latex glue: 24-48 hours
- PVA glue: 12-24 hours
- Acrylic glue: 6-12 hours
- Make sure to let it dry in a well-ventilated area.
💡 Pro Tip: Avoid moving the rug until the glue is fully cured to prevent uneven adhesion.
✅ Step 4: Trim Excess Yarn & Shape the Edges
- Use sharp fabric scissors or an electric trimmer to clean up any uneven fibers.
- If your rug needs precise shaping, use a sharp utility knife.
✅ Step 5: Attach a Backing Fabric (Optional for Extra Durability)
- Cut a piece of felt, canvas, or non-slip fabric to fit the back of your rug.
- Apply a thin layer of glue and press the backing into place.
- This helps protect the glue layer and give the rug a professional finish.
4️⃣ Common Mistakes & How to Avoid Them
🚨 Mistake 1: Applying Too Much or Too Little Glue
- Too much glue → Can make the rug stiff and heavy.
- Too little glue → Won’t hold the yarn securely.
✔️ Solution: Apply an even, moderate layer using a roller.
🚨 Mistake 2: Not Letting the Glue Dry Fully
- Moving the rug too soon can cause yarn to shift or glue to smear.
✔️ Solution: Always wait at least 24 hours before handling the rug.
🚨 Mistake 3: Using the Wrong Glue Type
- Hot glue won’t hold up over time, and wood glue can crack.
✔️ Solution: Stick to latex-based carpet glue for best results.
5️⃣ Final Tips for a Long-Lasting Rug
✔️ Use high-quality carpet adhesive for strong, flexible hold.
✔️ Apply the glue evenly to prevent hard or weak spots.
✔️ Let the glue dry completely before cutting or finishing the rug.
✔️ Consider adding a backing fabric for extra strength and a clean look.
Conclusion: The Secret to a Secure, Professional Rug
Proper gluing is the key to a long-lasting tufted rug. If you follow these steps, your rug will stay intact for years—no loose yarn, no unraveling, just a perfect rug!
Now that your rug is properly secured, you’re ready to enjoy your tufting masterpiece! 🚀✨
